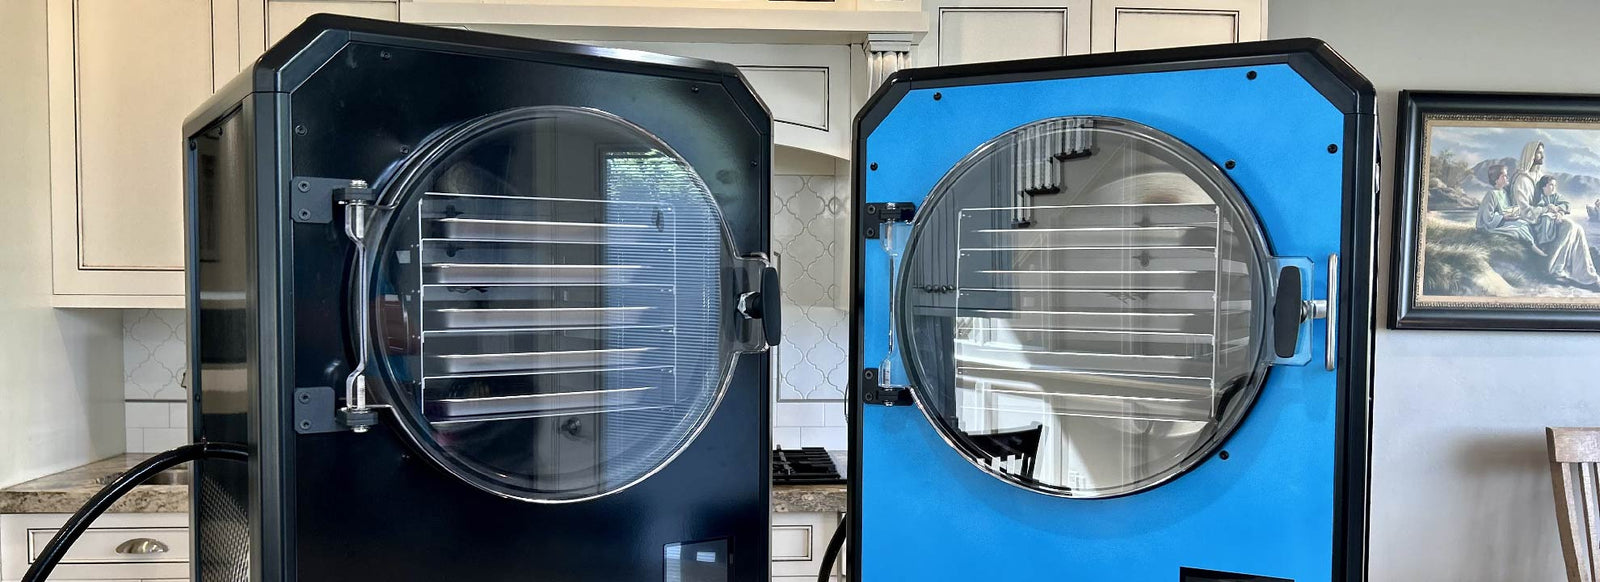
Set Up

There are a few things to keep in mind as you set up your Blue Alpine freeze dryer for the first time. 

1. Choose a suitable location for your freeze dryer:

    • Make sure the freeze dryer is operated at an ambient temperature between 32°F and 90°F. Operating the freeze dryer above 90°F will shorten the life of the refrigeration compressor.
    • Find a location that will allow you to plug the freeze dryer directly into a wall outlet. Never plug the freeze dryer into an extension cord. Extension cords will cause the refrigeration compressor to burn up. 
    • Ensure that the freeze dryer is plugged into an outlet on a 20 amp breaker. Also ensure that the freeze dryer is the only device on the circuit. Powering other devices on the same circuit as the freeze dryer could cause the breaker to flip and the batch of food to be ruined. 
    • When finding a suitable location for the freeze dryer, keep in mind that the machine creates a noticeable amount of noise (~60 dB, or about the same as a clothes dryer). Also keep in mind that the machine creates heat, so the room in which it is operated will become warmer. 
    • Only run the freeze dryer on a level surface. 
2. After a suitable location has been found, connect the tray rack electrical connectors and place the tray rack in the chamber. The black rubber door seal needs to be removed before installing or removing the tray rack from the chamber. After placing the tray rack inside the chamber, reinstall the rubber seal. 

3. If there are any sheet metal panels removed from the machine, reinstall them. Do this before plugging the freeze dryer power cord into the outlet.
NEVER PLUG THE POWER CORD INTO AN OUTLET OR POWER THE MACHINE WITH SHEET METAL PANELS REMOVED. ALWAYS UNPLUG THE MACHINE BEFORE REMOVING SHEET METAL PANELS.

4. The vacuum pump must be filled with oil before running. Filling the pump for the first time is easy. Simply remove the oil cap and slowly fill with vacuum oil to the middle of the sight glass. Before running any batch, ensure that the vacuum pump has the correct amount of oil in it. The pump will also require oil changes which will be discussed later.

5. Plug the vacuum pump power cord into the outlet on the side of the freeze dryer. Turn the vacuum pump switch to ON. Before running any batch, ensure that the vacuum pump is plugged into the freeze dryer and that the switch is turned ON. The vacuum pump has a 5 second delay when turning on.

6. Attach the vacuum hose to the vacuum pump using the compression fitting. The vacuum hose is located on the left side of the freeze dryer when facing the door. It is on the same side as the outlet.

7. Insert the drain valve into the drain hose, located on the right side of the freeze dryer.

8. Power on the freeze dryer by plugging in the power cord and turning the switch to ON (the power switch is located on the back of the machine). The touchscreen should automatically turn on when the machine is switched on.


Running Your First Batch

After you have successfully installed and set up your freeze dryer, you’re now ready to prepare your first batch of food. Good preparation is essential to successful freeze drying. Every food is prepared differently, so we’ll go through some examples to give you an overall idea of how to prepare food for the drying process.

The two most important aspects of preparing food is thickness and orientation on the tray. 


Thickness

The thickness of the food is extremely important to the quality of the end product. In general, fruits, vegetables, and meats need to be sliced before they are freeze dried. There is no minimum thickness, but there is a maximum thickness. For example, strawberries and bananas tend to freeze dry best when they are sliced to a thickness between 3/16” and 1/2”. As a general rule of thumb, this thickness range (3/16” - 1/2” or 5mm - 13mm) is applicable to all food types. 

Thicker slices will tend to leave pockets of water in the middle of the food and will significantly slow down the drying process. Trying to dry very thick pieces of food is not possible in a reasonable amount of time. It’s better to limit the thickness to 1/2 or less because the drying time will be within a practical range. 

Keep in mind that certain food types contain significantly more water than other foods. Foods with a higher water content will require a longer drying time. For example, drying a batch of candy is significantly faster than drying liquids or fruit. 


Orientation

All food needs to be placed as flat as possible on the tray. Avoid stacking food or slices. Avoid overfilling the trays with food. 


Loading Food into the Machine

After the food has been sliced and oriented on the silicone mats, you’re now ready to place the trays in the tray rack. Once the food has been loaded into the tray rack, close the door and turn the handle. Make sure the vacuum pump is turned on and plugged into the outlet on the side of the machine. 


Quick Start

Turn the machine on and press the Quick Start button on the home screen. If you pre-froze your food in your own freezer, select the Short Freeze Cycle option. Otherwise, press Start. 

Now, ensure that the drain valve is closed. This page is a reminder to always close the valve. If the valve is not fully closed, it will create a leak and cause a vacuum pressure error. Press Start to begin the cycle. You should hear the refrigeration system turn on. The vacuum pump should not turn on yet. 


Freeze Cycle

The freeze cycle typically takes 8 hours (factory default setting). You can adjust the freeze time if you need a shorter or longer freeze cycle. 


Dry Cycle

At the end of the dry cycle, you can check the doneness of your food. While the chamber is under vacuum, it is impossible to open the door. Slowly open the drain valve to bring the chamber back to atmospheric pressure. Remove a sample of food from a tray and crack it in half. It should have a crispy snap and a dry texture in the middle. If you hold the food to your lips, the middle should feel completely dry. If you feel moisture, the food needs more dry time. If the cycle has completely ended, you can restart the drying by going back to the home screen and choosing Quick Start. Then, skip the freeze cycle and go straight to the dry cycle. Adjust the dry time appropriately based on how moist the food sample was. 


Defrost

After every batch, it is necessary to remove all of the ice that accumulates on the walls of the chamber. Before defrosting the ice, place the drain hose in a bucket or container (1-5 gallons) and open the drain valve. The defrost page uses the tray rack to heat the chamber and expedite the defrosting process. Allow all of the water to drain out of the freeze dryer and then dry any remaining water in the chamber with a cloth. 


Some things to keep in mind:

  • Not every batch will be successful, especially at first. There is a learning curve to freeze drying, so don’t get discouraged if it doesn’t work and a batch gets ruined. 
  • Every food is different. Some foods are significantly easier to freeze dry than others. That said, the machine’s default settings should work on almost every type of food.
  • Not all foods can be freeze dried. Chocolate, butter, oils, and excessively fatty items are examples of foods which can’t be freeze dried. 


MAINTENANCE

READ THIS SECTION! This section contains a lot of useful information about proper care and maintenance of your machine. Failing to perform proper maintenance on certain components of the machine, such as the vacuum pump.


Changing the Vacuum Pump Oil

The vacuum pump tends to take the most abuse in a freeze drying system. Water, dust, and contaminants enter the pump and will eventually cause the pump to fail. However, proper maintenance and consistent and frequent oil changes will keep the pump running for many years. Change the oil in your vacuum pump every 3-6 cycles. Before each batch, check the quality of the oil in the pump through the sightglass. If the oil is milky, mirky, discolored, or there are visible contaminants, change the oil. Never let the vacuum pump sit for extended periods of time (more than 1-2 days) with contaminated oil. Used oil contains water and other contaminants that can corrode the pump. If you will not be using your freeze dryer, replace the oil in the vacuum pump with new oil to prevent corrosion. 


Follow the steps below to change the oil in your vacuum pump.

  1. Unplug the pump. 
  2. Have a funnel and storage container placed under the drain valve of the pump to collect the used oil.
  3. Use a 5mm allen wrench (included with your freeze dryer) to unscrew the drain plug on the pump.
  4. Drain the oil into a bottle or container. 
  5. Replace the drain plug.
  6. Remove the oil cap on the top of the vacuum pump. 
  7. Fill the vacuum pump with approximately 14 fluid ounces of oil. 

Cleaning the Condensing Unit

The refrigeration unit within the machine cabinet collects dust. Over time, the dust collected on the fins of the condensing unit can affect efficiency. We recommend cleaning the condensing unit with a can of compressed air or an air compressor. Generally, the condensing unit should be cleaned at least once a year to maintain optimal efficiency. 

Written by Brennan Tanner

More stories

How Does a Freeze Dryer Work? Understanding the Magic of Freeze Dryers

Freeze drying, also known as lyophilization, is a process that involves removing the moisture from a product while preserving its structure and nutrients. Freeze drying offers a longer shelf life compared to other preservation methods, while retaining the product's original flavor, texture, and nutritional value.

How to Freeze Dry Candy

Take Your Candy up a Notch Are you ready to take your candy game to the next level? Look no further than freeze-dried candy! Not only is it in...